

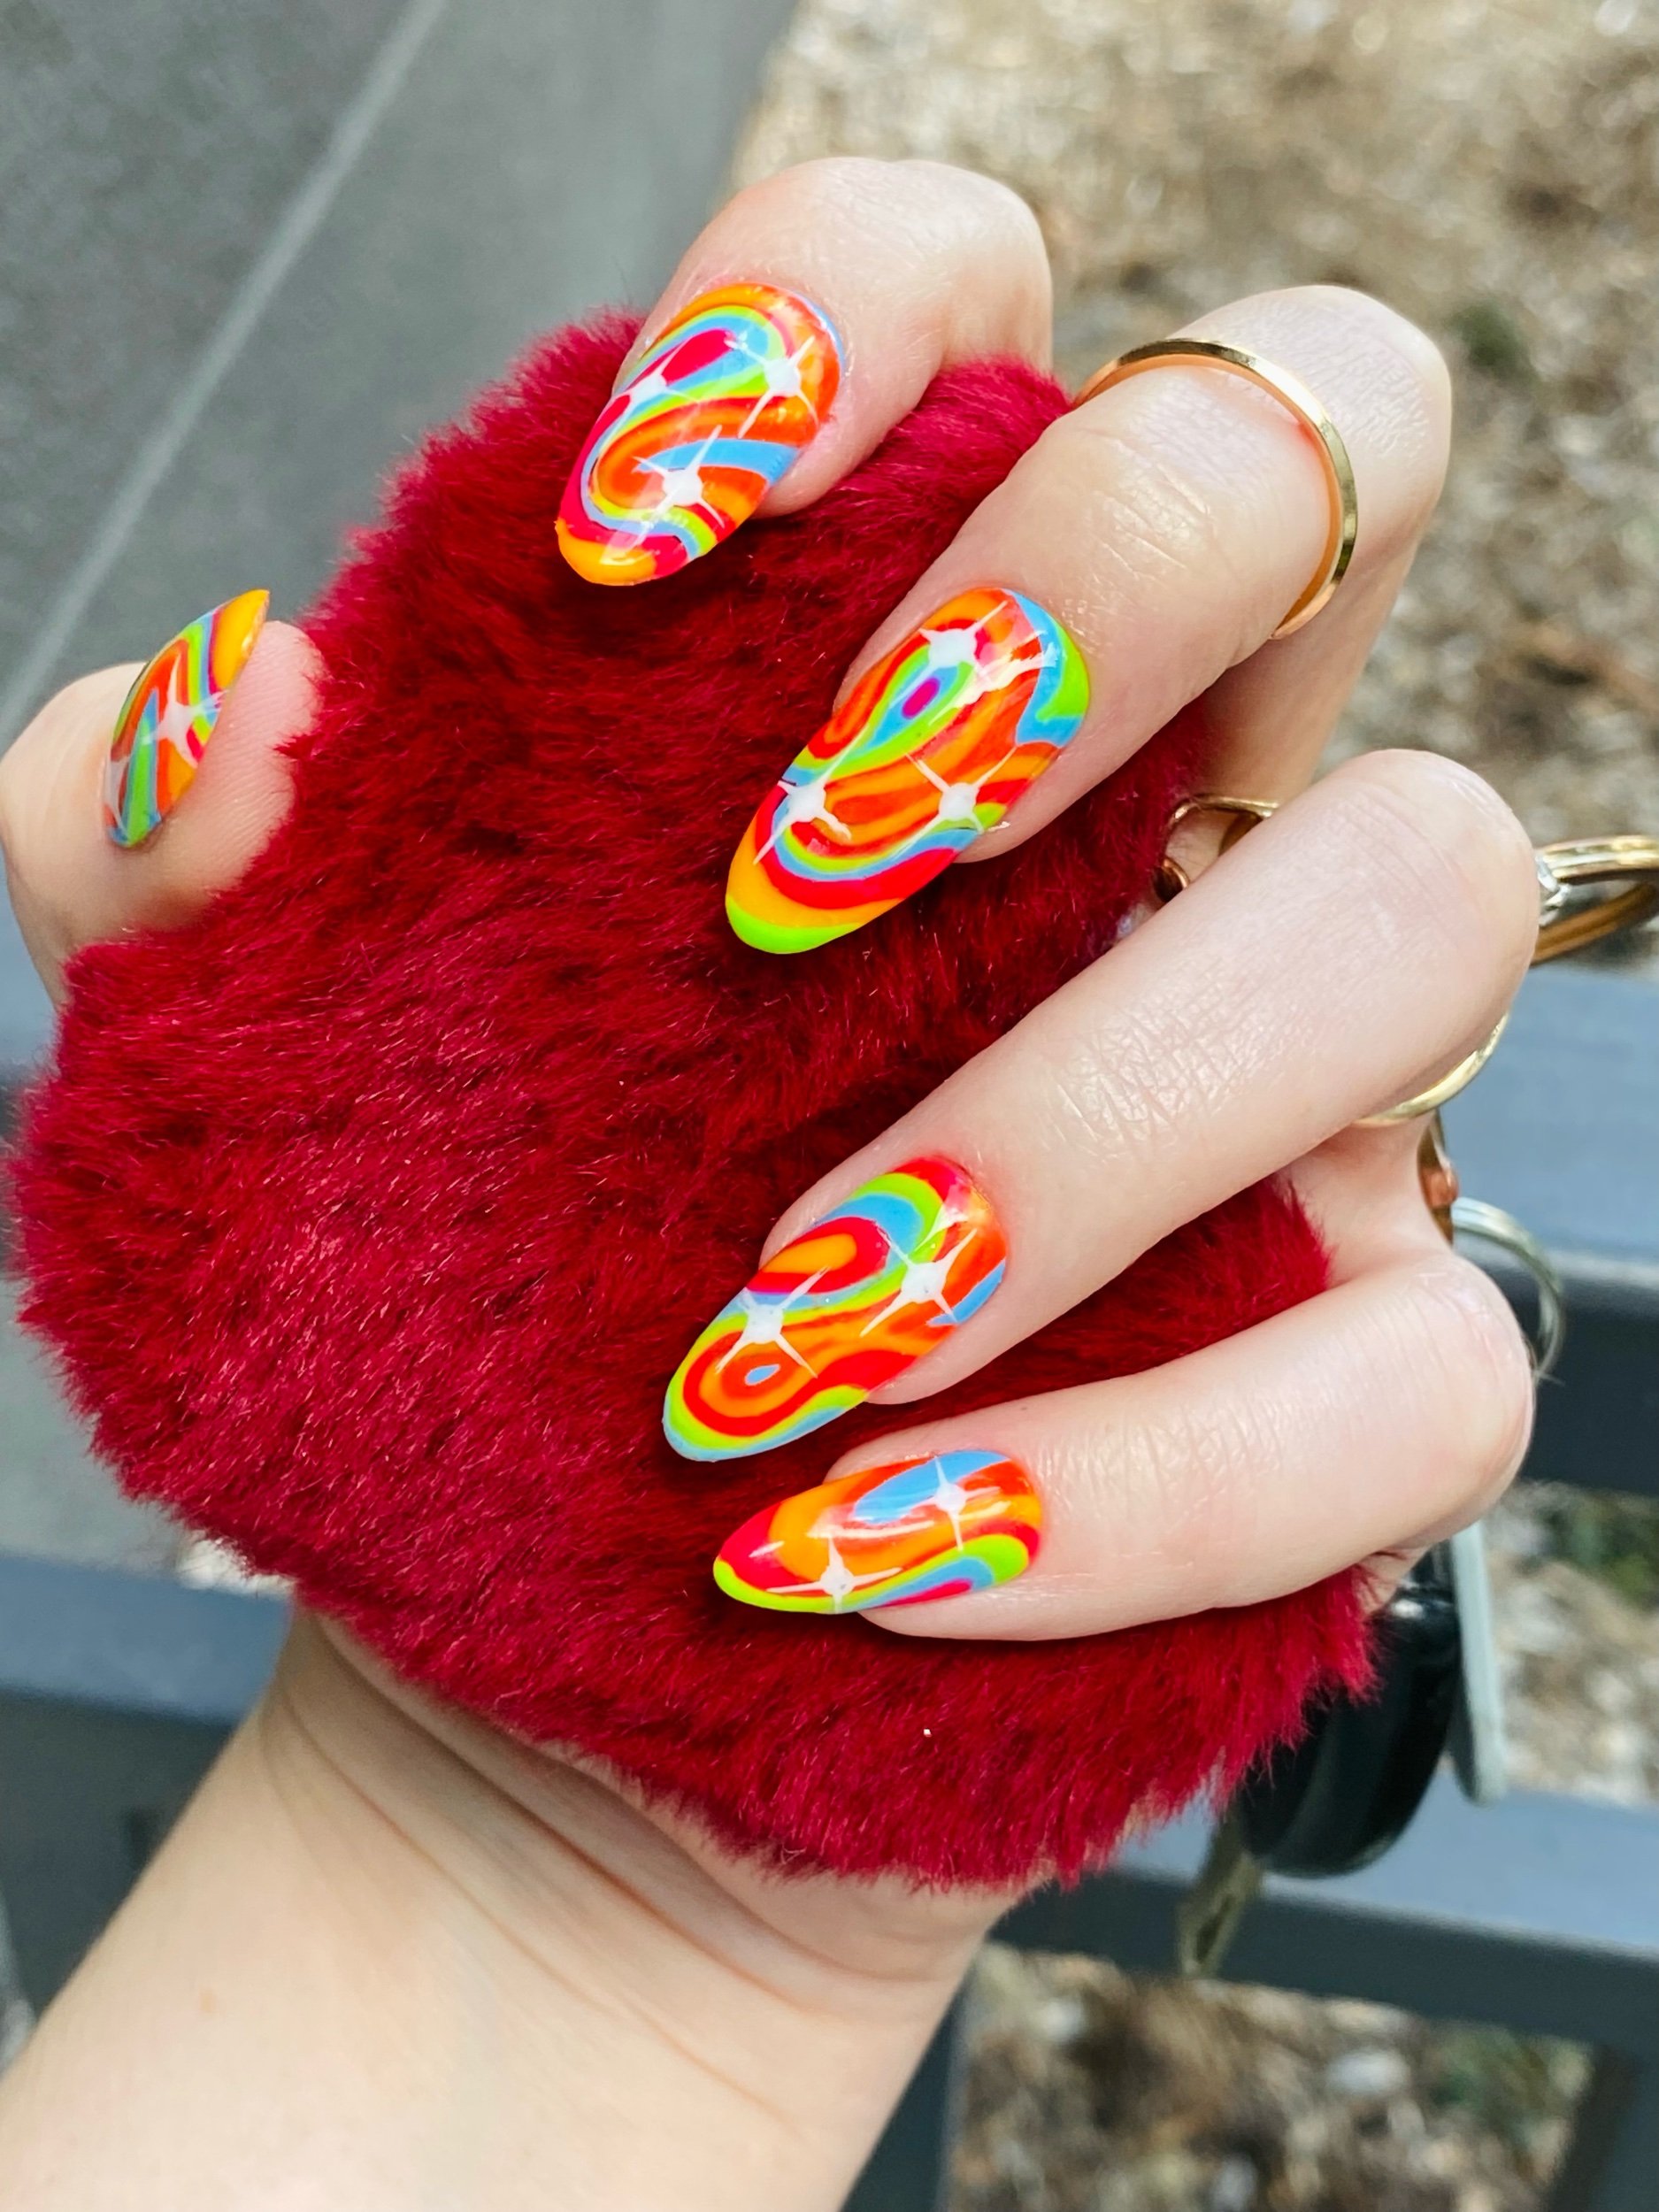


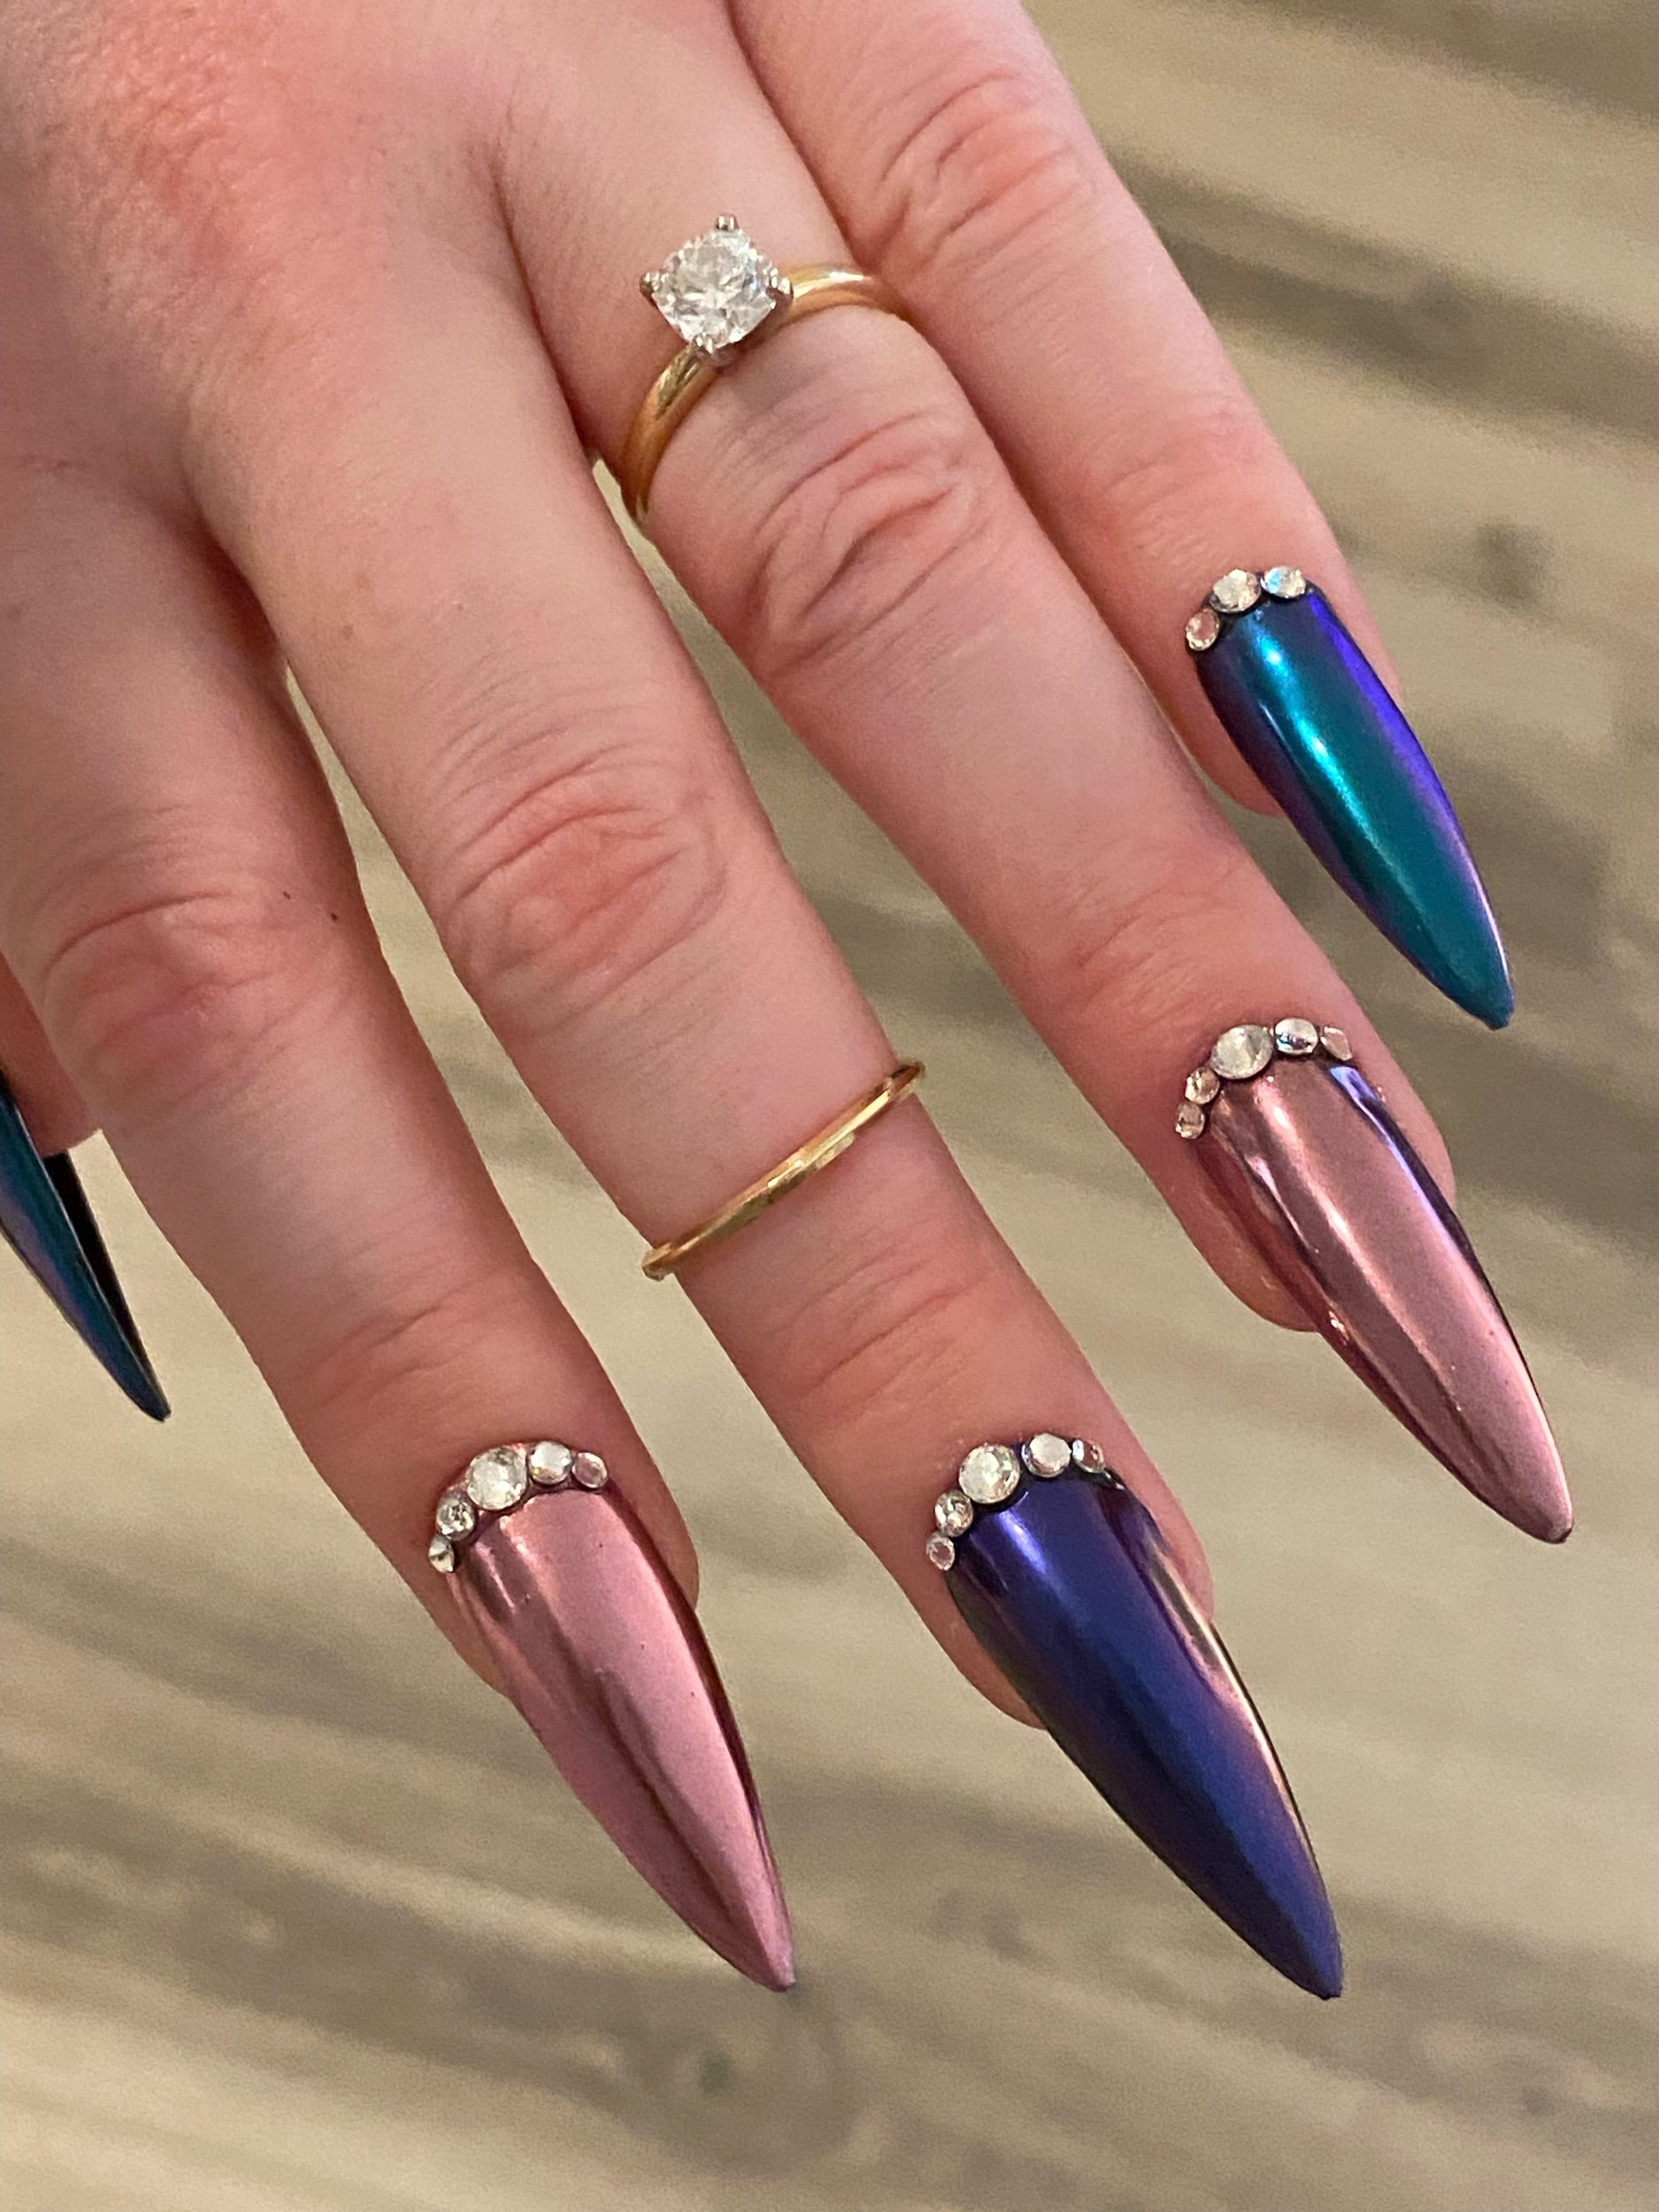
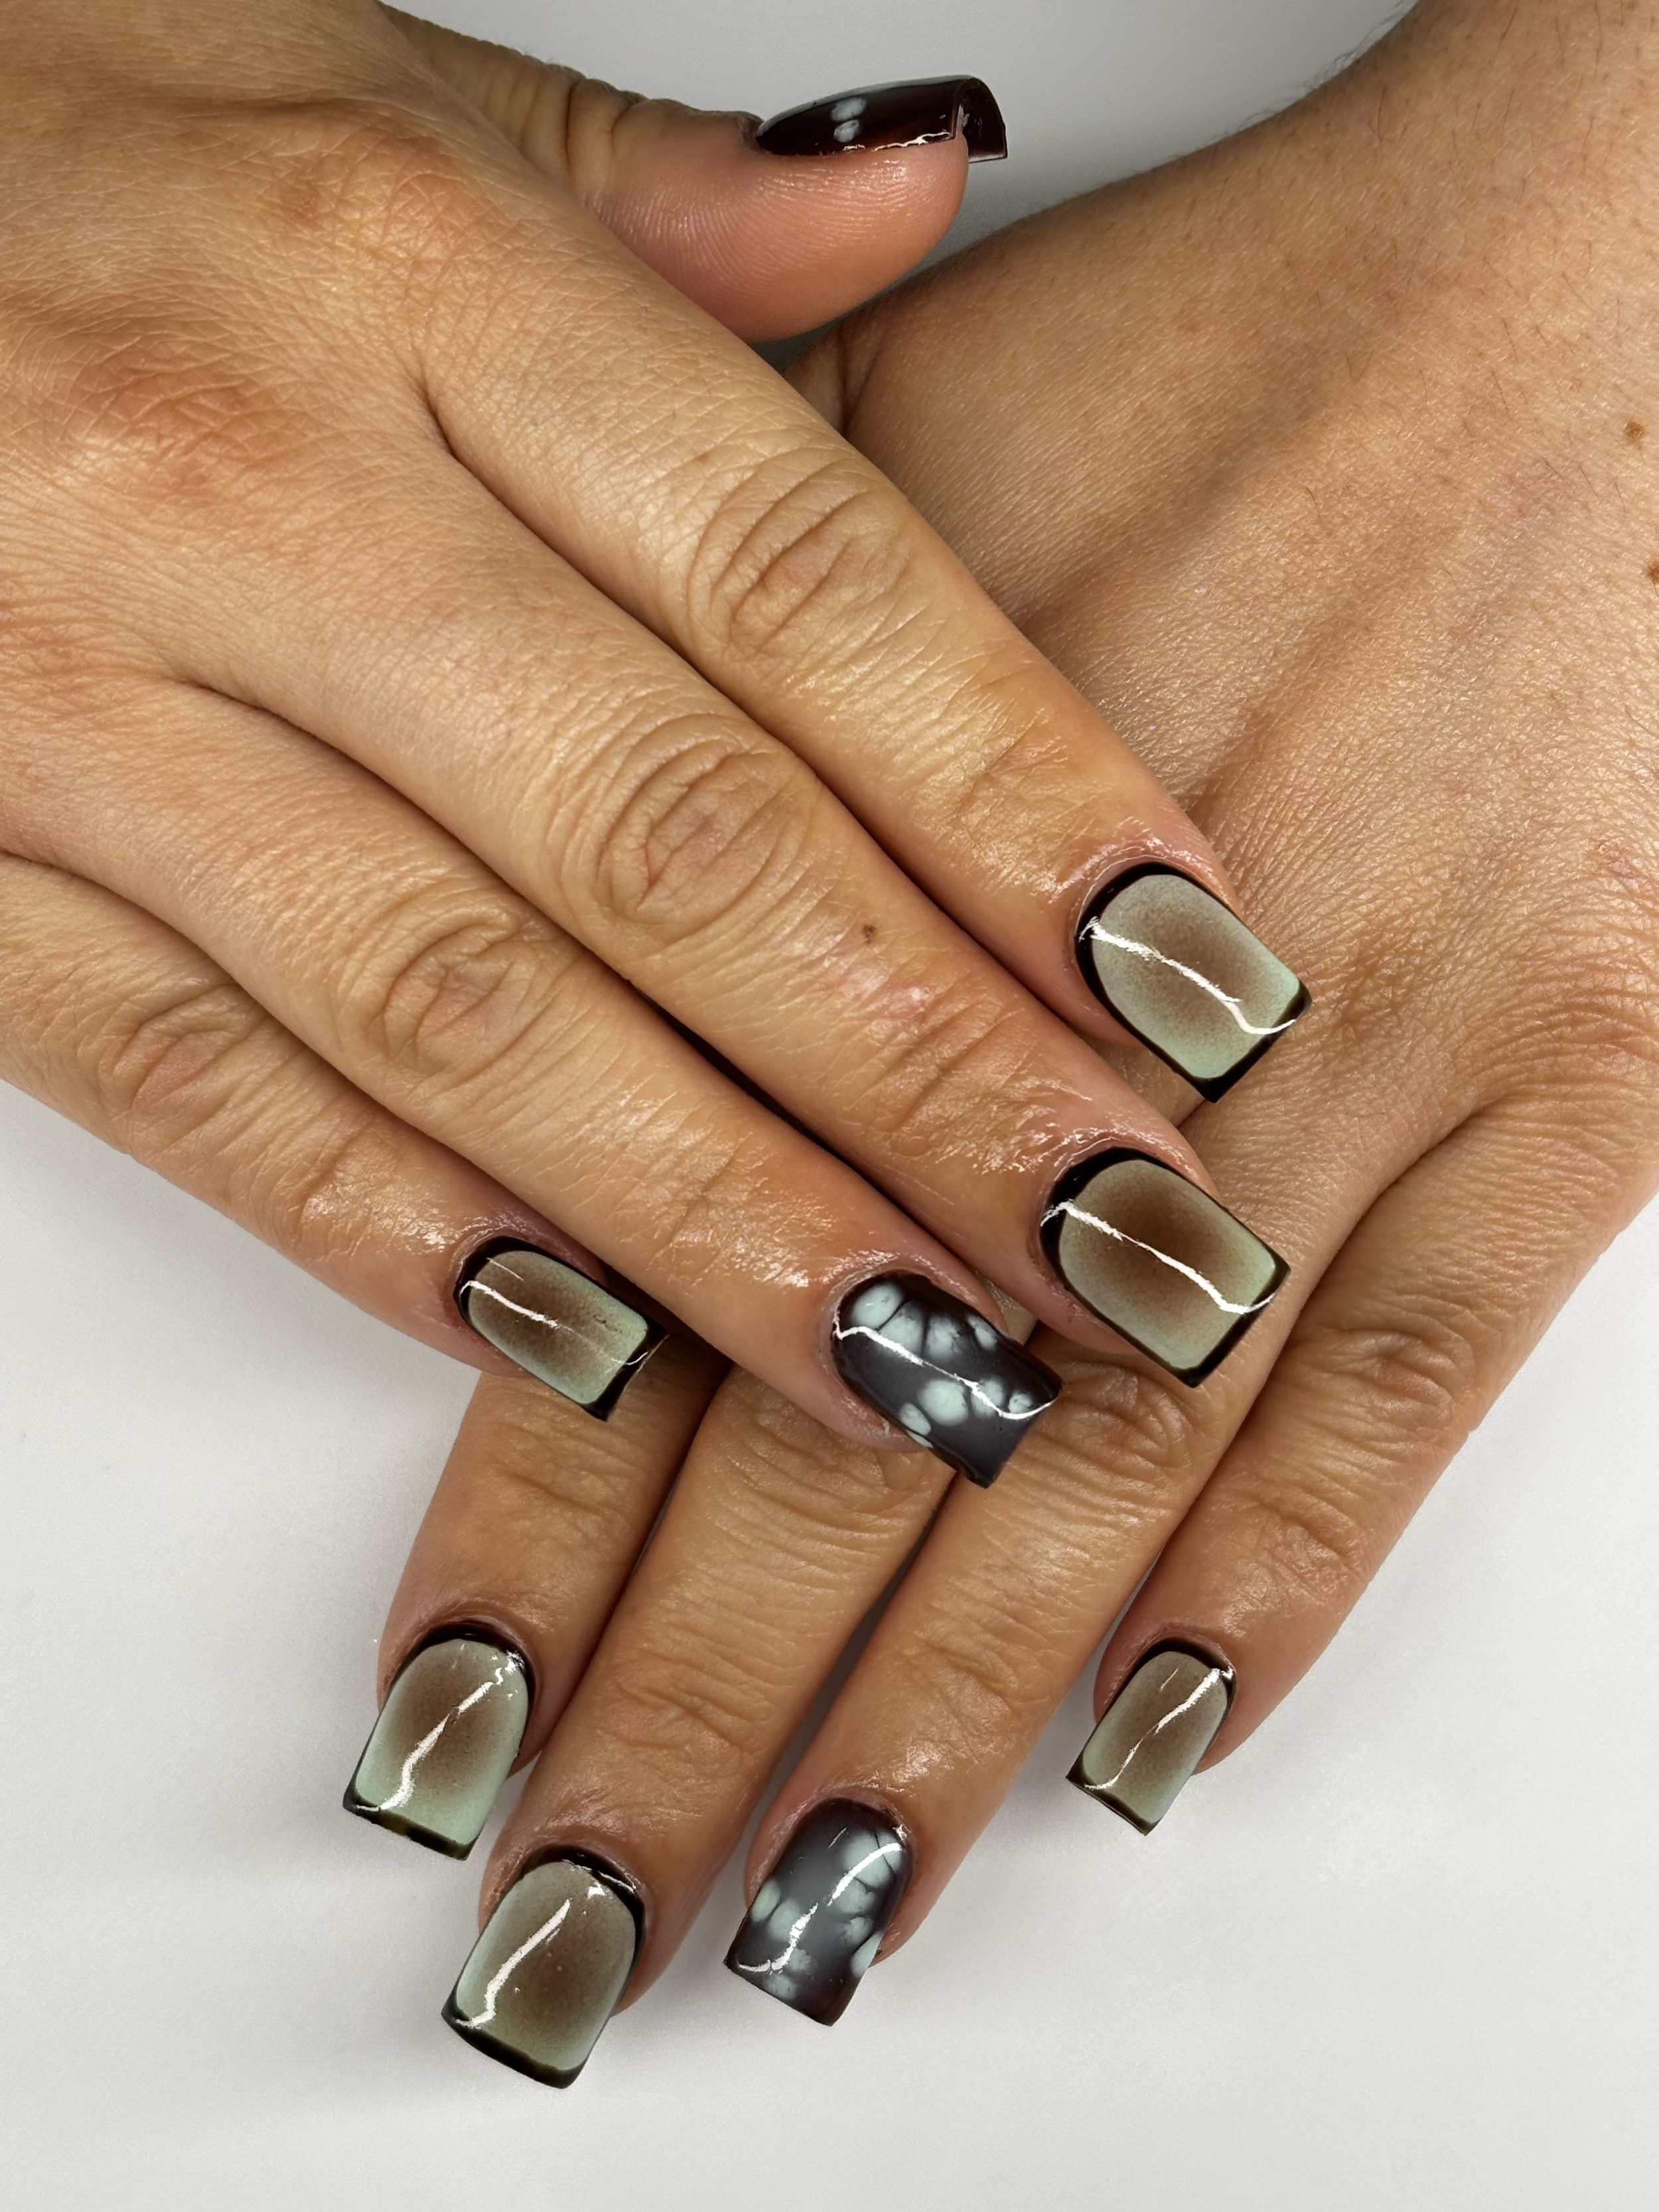


Custom Designed Press On Nails
Completely customized set of your choice. Choose this option if you don’t want a premade set and have inspiration photos.
Made with Aprés Nail tips and Valentino Beauty Pure gels. Please allow 7 days for creation. Not sure what tier to get? Contact me!
Every set includes:
Cuticle pusher + cutter
Cuticle oil
Alcohol pad
File
Brush
Free Aprés Gel-X Sizing kit
Solid Color
Includes a solid color with simple art like marbling or gems.
Tier 1 Nail Art
Includes basic art and design, like French tip, flowers, simple linework, etc.
Tier 2 Nail Art
Includes 2 intermediate art and design elements. Example: French tip with isolated chrome on top.
Tier 3 Nail Art
Includes complex art and design, with 3 or more elements of nail art. Example: French tip combined with character art plus 3D and gems.
Sizing 101
Sizing is very important to make a long lasting press-on set. Your attention to detail is important! When sizing your nails for press-ons, make sure the sides of the false tip align perfectly with your natural nail. Pull the skin away from your nail to see how deep the sidewall is. If it’s deeper, you want to make sure your press-on fits down into the sidewall. If it doesn’t, the tip is too small, and will likely pop off. If necessary, you can file the cuticle edge of your finished press-ons to match your natural cuticle shape.
Starting with the left pinky and the smallest tip size, fit your nail. Pull the skin away from the nail to check that the false tip fits sidewall to sidewall. If you’re between sizes, go up 1 or half a size. Repeat sizing until you find a perfect fit.
Write the nail tip number in space #1 under the Left hand. Repeat for all 10 fingers. Your pinkies will be 1 and 10.
How to Apply
Wash your hands and scrub your nails with the scrubber. Using the slanted edge of the plastic pusher, gently push back your cuticles using small circular motions. Keep the slanted edge flat against the nail. Try to remove stuck cuticle from the perimeter of the nail as best you can. This will help prevent lifting. Use the brush to scrub off any debris. Using the cuticle cutter, carefully remove the lifted cuticle. For best results, use a cuticle softener/remover (not included but sold online on Amazon or at your local beauty store).
Using the buffer, buff the entire nail surface and remove the shine from your nails. Use your scrub brush to remove debris.
Using the alcohol pad, wipe your nails thoroughly. Let dry. Repeat if nails seem oily.
Lay your hand flat on a steady surface with good lighting. Apply 1 drop of KDS nail glue to your natural nail and use the nozzle of the glue dropper to spread the glue around. Apply 1 drop to the inside of the nail tip and spread it around (use 2 for largest tips). Apply from cuticle to free edge at a 45 degree angle, press and hold firmly. Wait 15 seconds. If the nail easily lifts when you let go, you may have used too much glue. Use the alcohol wipe to remove the glue and start over. Let each tip dry completely before moving to the next nail, about 90 seconds. Repeat for each nail until done.